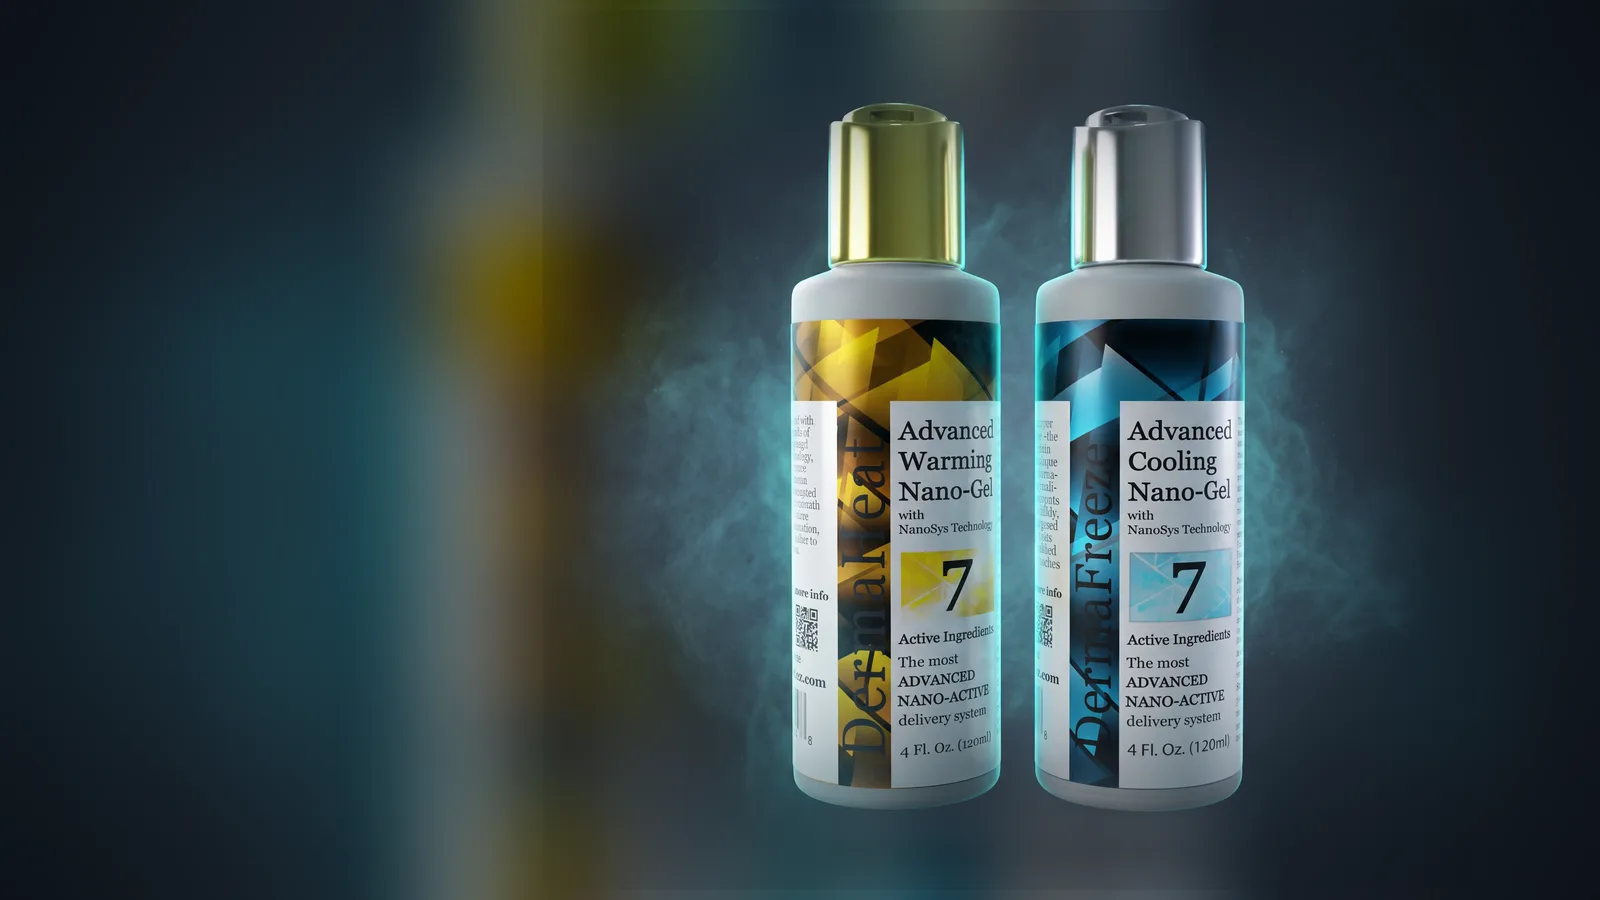
So you bought a Dermafreeze Cooling Gel. Good call. Now the practical questions arrive, the ones nobody puts in a sales page: when do I use it, where do I put it, and how much is enough. This is the honest starter guide. No formulas to memorize, no schedule to keep. The gel is a sensation-based product, which means the right way to use it is whatever fits your day, not whatever a post online says you must do. What follows covers how to use cooling gel in practice, from the first roll to the last drop, plus the small details most people learn the hard way.
When to Apply Cooling Gel
The honest answer to when to apply cooling gel is that there is no right time. The question comes up constantly, and the real answer is quieter than people expect: you use it when you want the cooling feel. That is the whole judgment call.
Where it fits is routine moments, not rules. Some people roll it on after activity, when the day has been moving and the sun is up. Others keep it for the evening wind-down, a small ritual after the shoes come off. There is the desk version, too: a quick pass across the forearms at the end of a long afternoon, which takes ten seconds and needs zero explanation to anyone in the room.
So cooling gel before or after activity? Either is fair. The product is sensation-based, and the sensation is the point. If you want the cooling feel at three in the afternoon or eight at night, the bottle does not care. Roll it on when your day says so, and skip the schedule.
Where to Apply
Simple rule: apply to areas of focus. Worked areas. Places you want that cooling feel. In practice that means shoulders, lower back, quads, forearms. Pick a spot you can reach, and you are done with the hard part.
The roll-on makes the whole thing easy, because the roller covers skin quickly and the gel spreads where it touches. The cooling gel application tips that matter: two or three strokes per spot, and the cooling feel lands right where you rolled it.
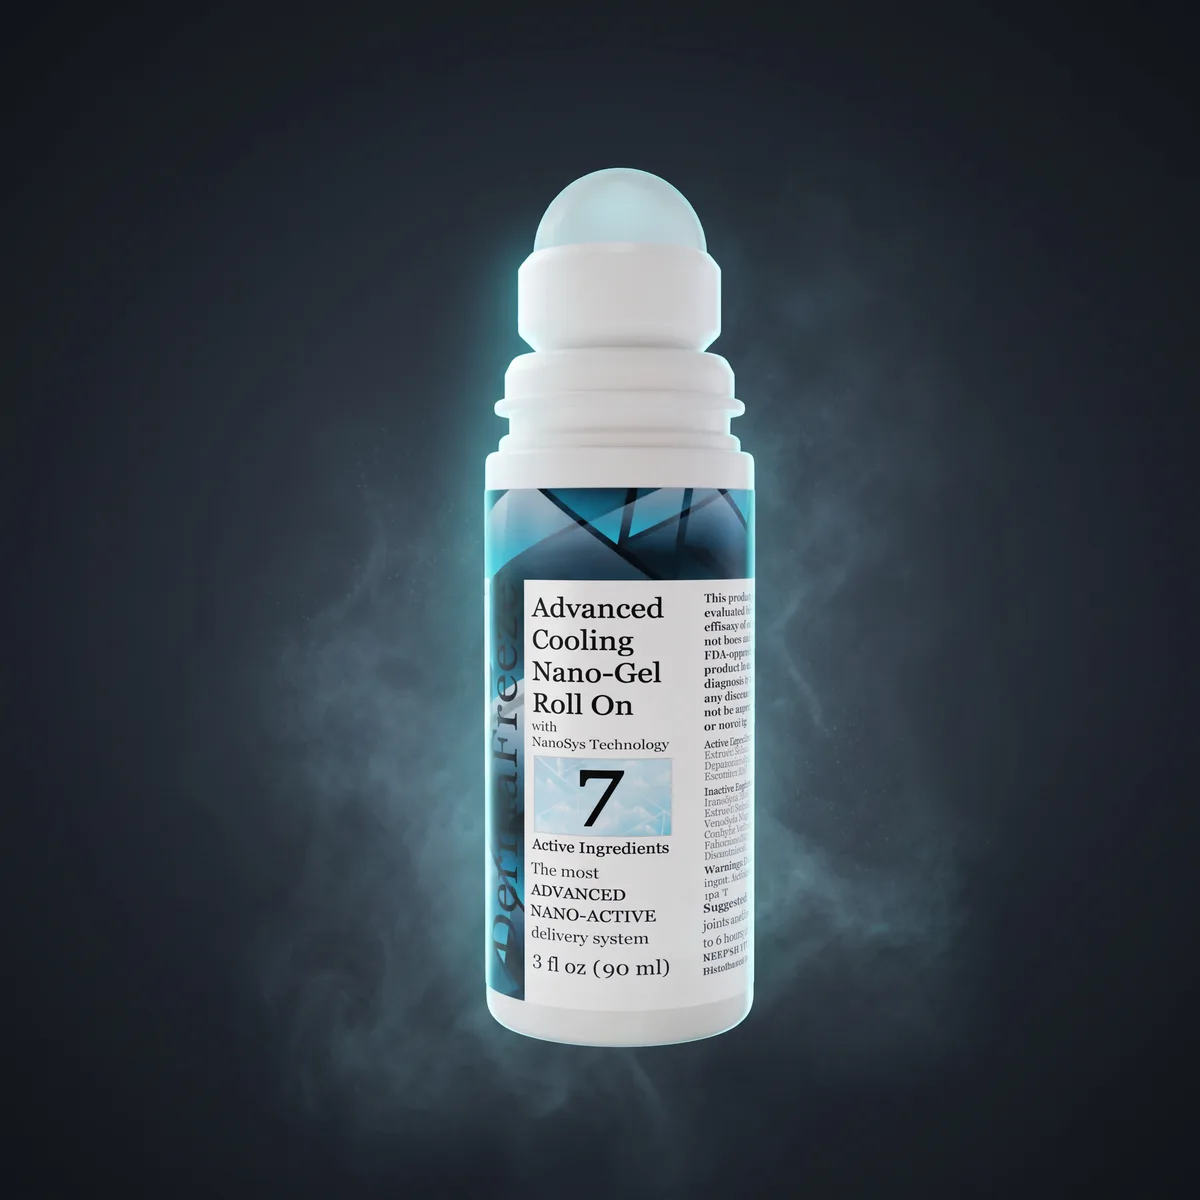
A standard note, straight off the label: do not apply over open wounds, cuts, or irritated skin. Skip the face and keep it away from your eyes. External use only. If your skin is picky, do a quick test on the inside of a wrist first. That tells you everything before you commit a whole afternoon to it.
How Much Cooling Gel to Use
Less than you think. A small squeeze of the gel, or a few strokes of the roll-on, is plenty for one spot. The gel spreads as you go, so what looks like a little in your hand settles across a generous patch of skin.
Start small. Add one more stroke if you want more coverage. There is no timer, no measuring cup, and no reason to overdo it, because the cooling feel comes in on its own a few minutes after you roll.
How does it settle? The gel dries to a smooth, clean feel, and the scent of peppermint and lavender hangs around, which is the part most people like. Let it air-dry for a minute or two before you pull clothes or a blanket over it. Then wash your hands. This is the step that gets skipped, and it is worth the ten seconds: the cooling feel belongs on the spot you rolled, not on your palms, and definitely not near your eyes later.
A Three-Day Cooling Gel Routine
If you want a place to start, here are three small scenes from a normal week. No pressure to keep any of them.
Day one, a hot morning. The sun is already loud before you finish your coffee. You roll a couple of strokes across the forearms and the back of the neck before you head out, and the crisp, cooling feel rides along with you through the morning errands.
Day two, the gym bag session. The roll-on lives in the side pocket. After activity, you pull it out while you refill your water, roll it across the quads, and let it air-dry as you pack up. Ten seconds. No audience. Seatbelt, drive.
Day three, the evening wind-down. Dinner done, shoes off, roll-on on the coffee table next to your water. A few strokes across the lower back and shoulders while the night settles, and that is the whole routine.
A cooling gel routine like this takes about a minute a day. That is the point. It should be the easiest thing on your schedule.
Storage and Care Basics
The gel asks very little of you. Keep the cap closed, every time, and store the bottle in a cool, dry place out of direct sun. A drawer, a cabinet, a shelf in the closet. The spot on the bathroom counter in full window light is the one to avoid.
Also check the date on your bottle. Most bottles in this class carry a printed date, and it is worth a glance when you put the bottle on the shelf and again before you reach for it after a long break. If it is past the date, it goes. If it is fine, it stays ready.
That is the entire maintenance plan. Cap closed, cool spot, date checked. Five seconds, twice a year.
Cooling Gel and Warming Gel: The Pair
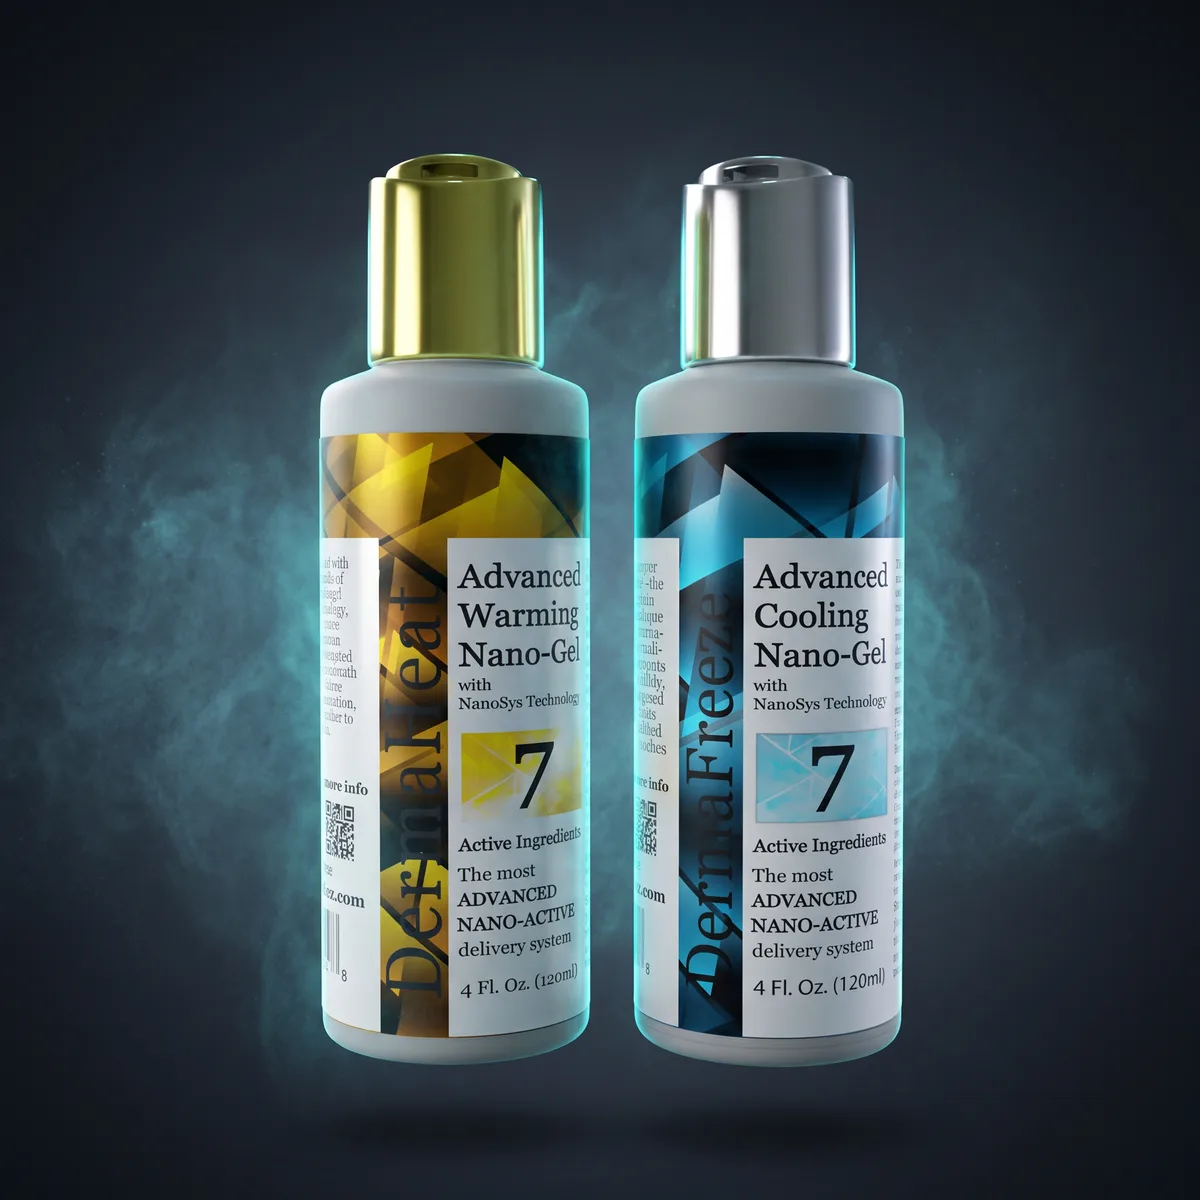
One last thing, because you may have noticed a second bottle in the shop. The Heat & Chill Duo pairs Dermafreeze Cooling Gel with DermaHeat Warming Gel, and the two sit at opposite ends of the same idea.
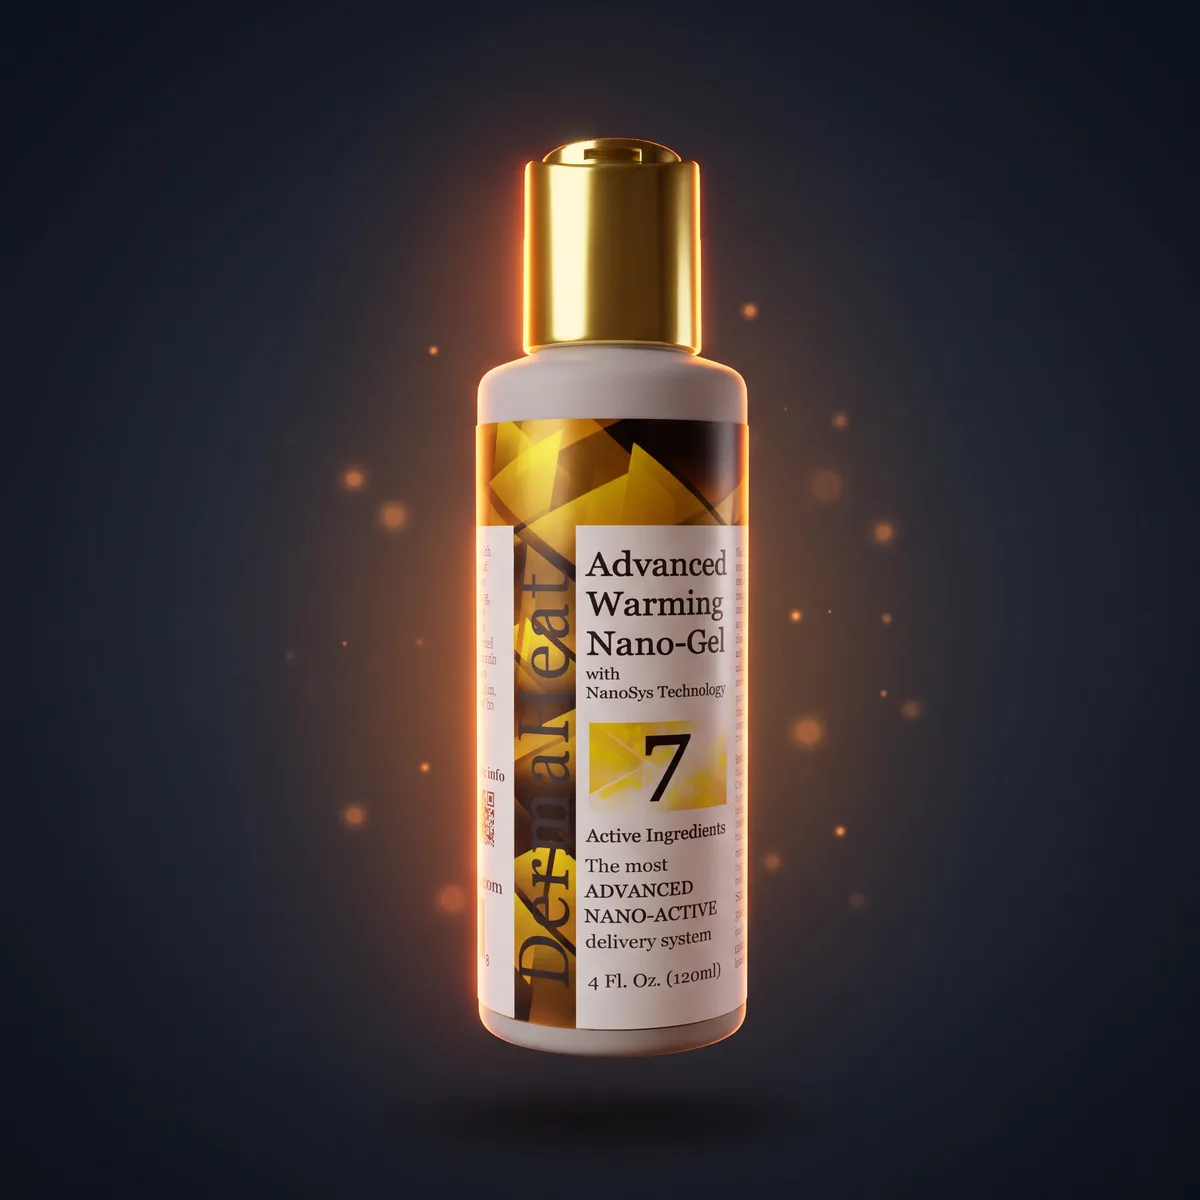
Cool after activity, when the day was loud and you want the crisp side. Warm in the evenings, when you want the warm tingle instead. On a cool evening, the warming gel is the one that fits. The pair means picking the feel you want, not choosing between products.
Where to Go From Here
That is the whole practical picture. Shop Dermafreeze Cooling Gel and start small. Roll it on whenever your day says so, keep the cap closed, check the date, and wash your hands. Learn more about the Heat & Chill Duo if you want both ends of the feel on your shelf. The bottle is not complicated. Now you know the rest.